Step-by-step guide
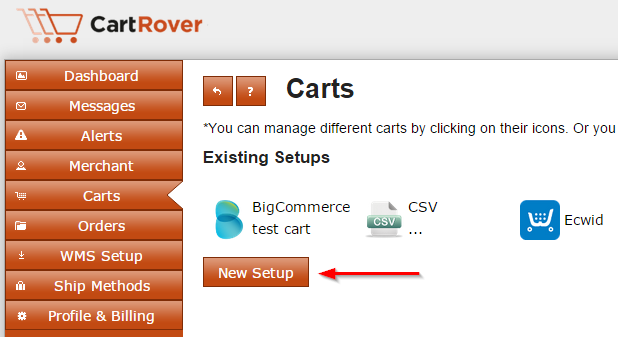
Step 1: Click on the Carts tab on the left hand navigation menu and then click New Setup.

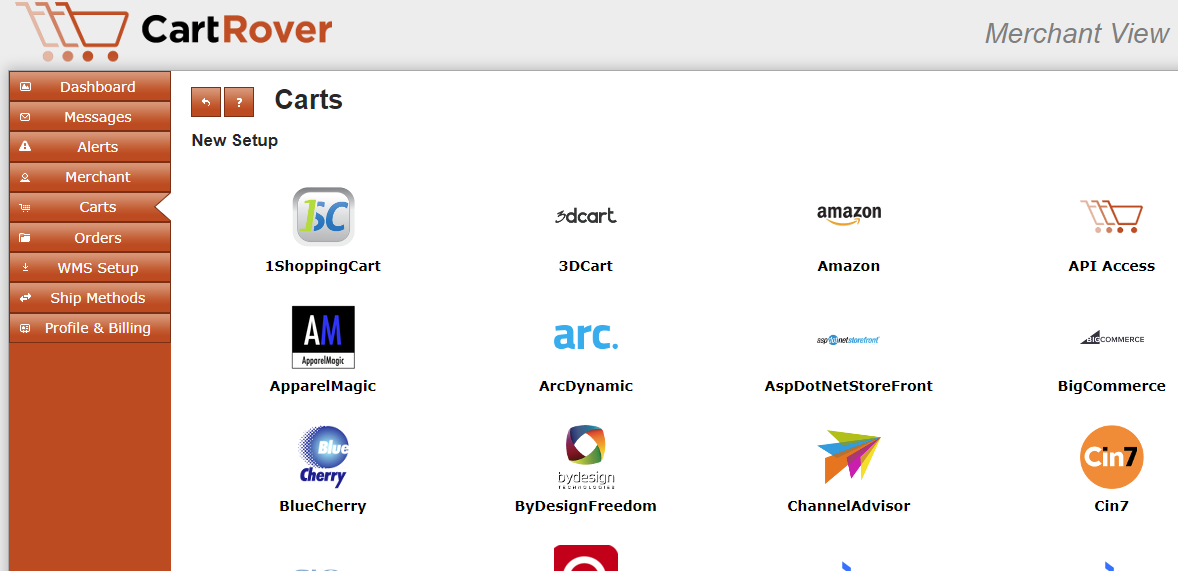
Step 2: Choose the shopping cart or marketplace that you intend on setting up for your merchant.

Step 3: Fill out the settings on the New Cart Setup page.
New Cart Setup Settings
Client
In the Client Section you can set which value will be sent to the warehouse in the "Order Source" field. You can also give the cart a description (optional). The cart description is only for viewing purposes in the Extensiv Integration Manager interface.
Services
Skip this section until all other fields have been set as desired. Setting each service will turn on the connection to the shopping cart.
Service | Description |
| Order Download | Sets how often Integration Manager downloads orders from the shopping cart |
| Shipment Upload | Sets how often Integration Manager sends tracking numbers received from the WMS back to the shopping cart |
| Inventory Upload | Sets how often Integration Manager sends inventory levels received from the WMS back to the shopping cart |
Cart Setup
This section displays cart specific settings, such as which statuses an order must be in to be downloaded by Integration Manager. Unless you have specific custom needs, the default statuses listed will be correct according to your carts standard. Review all fields and hover over the question mark for a description of the field's purpose.
Order Load Options
This section displays the same fields for every shopping cart:
Reject Unmapped Shipping Codes | Disable, Enable | This field should be enabled if you plan to map your shipping methods within Integration Manager before sending your orders to the WMS. Enable will hold the order in Integration Manager until the ship code has been mapped. Each ship code only needs to be mapped once. Disable will send the shipping code from the shopping cart straight to the WMS. See Ship Method Mapping for more info. |
Earliest Order Date | Select Date | Orders that were placed before this date will not be pulled even if they meet all other criteria. This prevents accidentally downloading old orders. The first time we pull orders we will attempt to pull orders back to this date as well. |
Sync Inventory With Warehouse | COMBINE ALL WAREHOUSES, specific warehouse | Inventory will be synced to the shopping cart from the selected warehouse. Or inventory from all warehouses can be synced. |
Sync Inventory Alias | Master SKU, Alias type(s) | All products aliases come from your WMS. Please reach out to Integration Manager support to see if your WMS supports aliases download. If your shopping cart is using product aliases instead of (Master) SKU, please select alias name. Products that do not contain the chosen alias will be ignored during inventory sync.
|
Minimum Inventory Level | number | In order to prevent shopping carts from overselling, items that have less than the Minimum Inventory Level will be set to quantity Zero. Note: It is only available to those carts that utilize Available Quantity during inventory sync. |
WMS Settings
Some WMS systems have required fields on the cart level. Please check your specific WMS Setup Guide for instructions.